
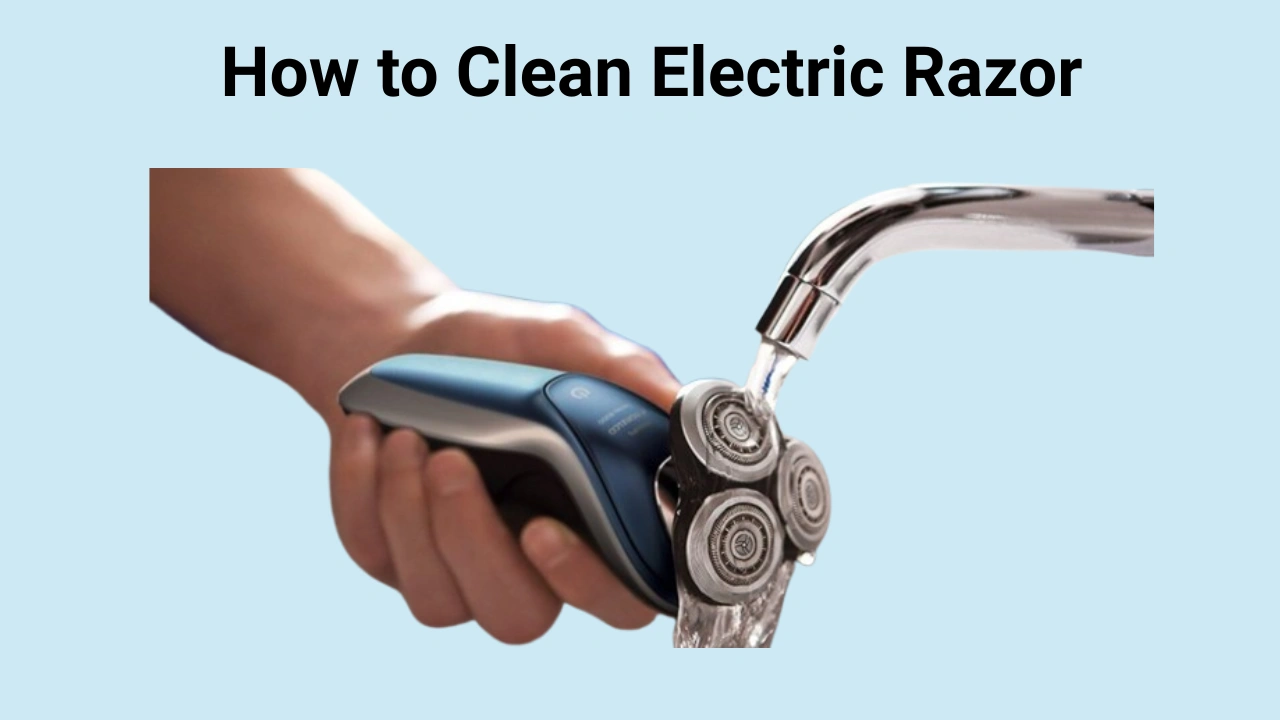
I’ll be honest — I ignored cleaning my electric razor for the first two years of owning one. I figured a quick rinse was enough. Then one morning, my Braun Series 7 started dragging across my face instead of gliding. The shave was patchy, my skin felt raw afterward, and when I finally popped open the shaver head, I found a packed layer of dried hair, dead skin, and old shaving cream residue sitting right against the foil.
That was the turning point. I started researching how the pros actually maintain their shavers, tested different methods over several months, and now I clean my razor properly after every single use. The difference in shave quality — and the lifespan of my blades — has been night and day.
This guide is everything I’ve learned, laid out step by step. Whether you’re using a foil shaver or a rotary shaver, the core principles are the same.
Why Cleaning an Electric Razor Matters
Most people underestimate what’s left behind after a shave. It’s not just loose hair. Every time the blades run across your face, they pick up a mix of sebum (skin oil), dead skin cells, shaving cream or gel residue, and tiny hair fragments. That combination doesn’t just sit there — it compresses into the cutter block with every use.
Here’s what that buildup actually does:
It dulls the blades faster. Hair particles stuck between the foil and the inner cutter create resistance. The motor has to work harder, the blades heat up more, and the edge wears down quicker than it should.
It causes skin irritation. Bacteria thrive in warm, protein-rich environments — which is exactly what a dirty shaver head is. Shaving with a contaminated razor drags those bacteria across your face, which can trigger breakouts, razor burn, and folliculitis, especially if you have sensitive skin.
It reduces motor efficiency. On modern electric shavers, the motor speed adjusts based on hair density. When the cutter block is clogged, the motor is constantly compensating, which drains battery faster and shortens the device’s lifespan.
Cleaning your electric razor properly takes less than two minutes once you know what you’re doing. The return on that time is a smoother shave, healthier skin, and a device that lasts years longer.
Step 1- Remove and Disassemble the Shaver Head
Before anything else, switch the shaver off completely. If it’s plugged in, unplug it. Never attempt to clean an electric razor while it’s charging — water and electricity near charging contacts is a genuine risk.
On most electric razors, the shaver head releases with a press-and-lift motion. Braun models usually have a release button on the side. Philips rotary shavers often have a top panel that clicks off. Check your manual for the exact release mechanism, because forcing it can snap the plastic clips — a mistake I made once with a budget shaver that cost me a replacement part.
Once the head is off, separate the individual components:
- The foil or rotary blades (the part that contacts your skin)
- The cutter block (the inner cutting element)
- The head frame or housing
Keep these components organized. The foil especially should be set down gently on a soft surface — it’s made from very thin, perforated metal and bends easily under pressure.
Step 2- Dry Cleaning with a Brush
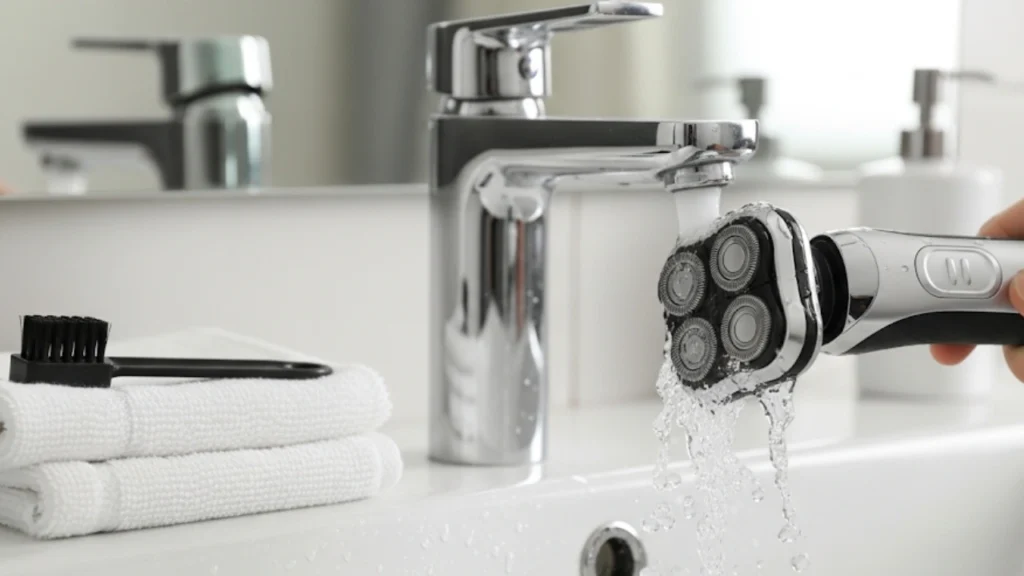
Every electric razor comes with a small cleaning brush — usually a double-ended brush with a flat head on one side and a narrow tip on the other. Most people lose it within a month. If that’s you, any soft-bristle paintbrush works just as well.
Hold the cutter block upside down over a bin and brush outward — away from the center. Don’t scrub back and forth, because that pushes debris deeper into the gaps instead of clearing it. Short, outward strokes are the right technique.
For the head frame or housing, use the narrow tip of the brush to get into the corners and channels where compacted hair likes to hide. You’ll be surprised how much comes out even after what looks like a clean rinse.
One critical rule: never use the brush directly on the foil mesh. The foil is designed with microscopic perforations that guide hair toward the blades. A brush can stretch or tear those perforations, and once the foil is damaged, it drags on skin rather than gliding. Foils are replaceable, but a new one for a premium electric shaver can run $20–$40.
Dry brushing should happen after every single shave, even on days you don’t do a deeper clean. It takes 30 seconds and it’s the single most important habit for keeping a shaver performing well.
Step 3: Cleaning with Water and Soap
If your electric razor is rated waterproof (most modern ones are — look for an IPX5 or higher rating), you can rinse it under warm running water. Warm water is specifically better than cold here — it softens dried sebum and shaving product residue, making it much easier to flush out.
With the shaver head components separated, hold each piece under the tap and let the water run through naturally. Then — and this is a step a lot of people skip — turn the electric shaver on while it’s under the water. The vibration from the motor shakes loose debris that static rinsing won’t reach. Run it for about 10 seconds.
For a deeper weekly clean, add one small drop of mild liquid soap to the foil or rotary blades before rinsing. Work it gently with your fingertip — not the brush — and then rinse thoroughly. The soap cuts through oil and product buildup that water alone can’t dissolve.
After rinsing, shake each component firmly three or four times to remove standing water, then set everything on a clean towel with components separated. Don’t reassemble while wet.
Step 4: Using Cleaning Sprays and Solutions
For a more thorough disinfection — especially important if you shave daily — dedicated electric razor cleaning sprays are worth using once or twice a week.
Braun Shaver Cleaner Spray and Philips Cleaning Spray are the two most widely used products, and both work on a similar principle: a solvent base that breaks down oil and residue, combined with a disinfecting agent that eliminates bacteria. You spray directly onto the blades after brushing, let it sit for 30 seconds, and then run the shaver briefly to distribute the solution before shaking off the excess.
What I’ve noticed using these consistently is that the blades feel noticeably smoother immediately after — less drag on the first stroke of the next shave. The disinfecting element also gives real peace of mind if you’re prone to skin issues.
Avoid using rubbing alcohol or isopropyl alcohol as a substitute, even though it’s a common recommendation online. Alcohol is too harsh for the lubrication on foil shavers, strips the protective coating from some rotary blades, and can cause plastic components to become brittle over time.
Step 5: Cleaning Stations for Automatic Cleaning
If you own a higher-end electric shaver — the Braun Series 9, for example, or the Philips S9000 Prestige — it likely came with or is compatible with an automatic cleaning station.
These docks are genuinely convenient. You drop the shaver into the dock, press a button, and the station runs a full wash-and-dry cycle using a specialized cleaning cartridge. The cartridge solution cleans the blades, neutralizes bacteria, and leaves a light protective film on the cutting elements.
The downside is ongoing cost. Replacement cartridges for Braun Clean & Charge stations run about $10–$15 for a pack of three, each lasting roughly 30 cleaning cycles. If you use the station daily, you’re replacing cartridges monthly.
My honest take: if you shave every single day and want zero-effort maintenance, a cleaning station is worth the investment. If you shave a few times a week and don’t mind the two-minute manual routine, the manual method works just as well and costs nothing.
Step 6: Lubrication for Better Performance
Lubrication is the most consistently overlooked part of electric razor maintenance, even among people who clean their shavers regularly. Metal cutting against metal generates heat and friction. Without oil, the blades wear down faster than they need to, and that friction translates into a pulling sensation during the shave.
Clipper oil is the standard recommendation, and it works well. A single small drop on the foil or across the rotary blades, followed by running the shaver for 5–10 seconds, distributes the oil evenly across all the cutting surfaces. That’s all it takes.
Light machine oil works in a pinch. Sewing machine oil is also fine. What you want to avoid is anything thick — cooking oil, baby oil, or petroleum jelly will gum up the cutter block rather than lubricate it.
Lubricate after cleaning, not before. You want the oil on clean metal surfaces, not mixed into a slurry of debris.
Step 7: Drying the Shaver Properly
Water trapped inside an electric shaver is a problem for two reasons. First, moisture near electronic components accelerates corrosion. Second, a damp shaver head is an ideal breeding environment for the exact bacteria you were trying to remove during cleaning.
After rinsing, shake each component firmly and then leave everything separated on a dry towel in a well-ventilated area. Two to three hours is enough for most shavers in normal room conditions.Do not use a hairdryer. High heat warps the thin metal of foil shavers and can melt the plastic clips that hold the head frame together. Don’t put the shaver near a radiator or in direct sunlight for the same reason. Room temperature air-drying is the only method that won’t risk damage.
Read – Can You Use Shaving Cream With An Electric Razor: Is It Safe?
Step 8: Reassembling and Storing Safely
Once all components are completely dry, reassemble in reverse order. Align the foil or rotary blade panel with the head frame, press until you hear or feel the clips engage, then attach the head back to the shaver body. Never force a component — if it’s not clicking into place, something is misaligned.
For storage, keep the electric razor in its protective case when not in use. Bathroom environments have high humidity, and even a waterproof shaver benefits from being stored somewhere drier. If your shaver didn’t come with a case, a small zip pouch works perfectly.
When to Replace Blades and Foils
Cleaning maintains performance, but it doesn’t stop wear. Foil shavers typically need the foil and cutter block replaced every 12 to 18 months. Rotary shavers need their blades and guards replaced on a similar schedule.
Signs it’s time to replace rather than just clean:
- The shave requires noticeably more passes than it used to
- You’re experiencing skin pulling even on a clean, lubricated shaver
- You can see visible damage or thinning on the foil
- The shave takes significantly longer than before
Braun sells replacement foil and cutter block combos for most of their series. Philips does the same for their rotary blades. Budget around $25–$50 depending on the model.
Quick Maintenance Checklist
✅ Dry brush after every shave (30 seconds)
✅ Rinse with warm water and soap weekly
✅ Use cleaning spray or cleaning station 1–2 times per week
✅ Lubricate with clipper oil after every cleaning session
✅ Air-dry fully before reassembly and storage
✅ Replace foil/blades every 12–18 months
Common Mistakes to Avoid
Some users unknowingly damage their shavers during cleaning. Avoiding these mistakes will help maintain the razor’s life. One common error is using strong chemicals like alcohol or bleach. These can erode delicate foils and plastics.
Another mistake is skipping lubrication. Without oil, blades wear down quickly. Storing the shaver while wet is also harmful. Moisture can shorten the life of both the blades and the battery. A few careful steps can prevent all these issues.
Conclusion
Learning how to clean an electric razor properly changed the way my shaver performs — and honestly, how my skin feels. The steps aren’t complicated, but they do need to be consistent. A 30-second dry brush after every shave, a proper rinse once or twice a week, and regular lubrication is genuinely all it takes to keep a quality electric shaver performing the way it did on day one.
The difference between a well-maintained shaver and a neglected one isn’t subtle. It shows up in every single shave — in how close the cut is, how little irritation you get, and how long the device keeps working before you need to replace it. A few minutes a week is a worthwhile trade for all of that.