
A lot of guys ask the same thing: how to use a trimmer for head and beard hairs without making mistakes? The truth is, trimming isn’t rocket science, but it does require a little know-how. Get it right, and you’ll look sharp in minutes. Get it wrong, and you’ll spend days waiting for uneven patches to grow back.
The beauty of a trimmer is that it gives you control. You don’t have to book a barbershop appointment every week just to stay neat. With the right steps, you can shape your beard, clean your neckline, or even manage a buzz cut at home. This information is written with complete research to provide you with the best knowledge about trimmer.
Step 1: Get the Basics Right
Clean and Charge First
Before you even think about trimming, take care of your tool. A trimmer full of old hair will never work smoothly. Give the blades a quick brush or rinse, depending on whether yours is waterproof. Make sure the guards are clean too.
Charge it fully. A weak battery doesn’t just die halfway through—it also pulls on your hair instead of cutting clean. Trust me, that’s not something you want to feel on your skin.
Pick the Guard That Fits
Your guard choice sets the tone for the whole look. Not sure which one to use? Start longer. You can always go shorter, but you can’t put hair back once it’s gone.
For a neat beard, try a mid-range guard like a #4. Want stubble? Go for a #1 or #2. On the head, longer guards are safer when you’re just getting used to trimming. Once you’re confident, you can experiment with fades and closer cuts.
Step 2: Master the Technique
Always Go Against the Grain
The golden rule is to shave contrary to the hair growth. In that manner, the blades pick up all the strands uniformly. When you go with the grain, you will have uneven spots which will look sloppy.
Move the trimmer slowly and steadily. Do not rub it on your skin. Let the blades work it out. Excessive pressure may lead to irritation, particularly on the neck and the jaw.
Work in Sections
Do not do everything at once. Break it down To trim the head, begin at the sides, then the back and then the top. When it comes to beards, start with the cheeks, then the jaw line and finally the neck line.
Sectional work maintains everything in balance. When you cut step by step, it is much easier to see uneven spots. Always have a good mirror and good lighting, you will be glad you did.
Step 3: Refine the Details
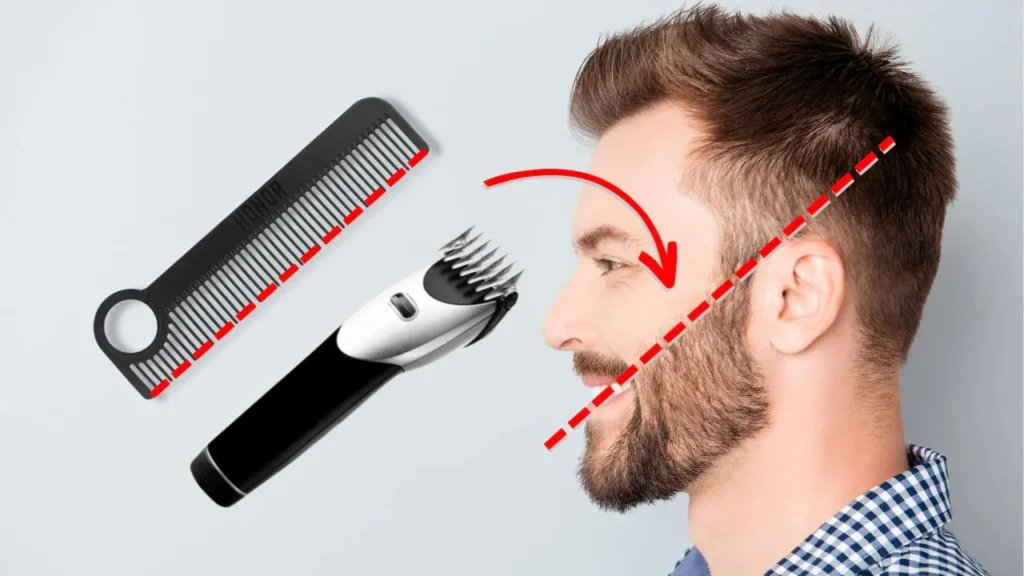
Comb and Double-Check
Once the bulk of the trimming is done, grab a comb. Run it through your beard or hair to lift any sneaky strands. Then, make another quick pass with the trimmer.
This is also the time to fine-tune. Want a sharper beard line? Tidy it now. Missed a patch at the back of your head? Fix it before you put the trimmer down. These little touches are what make you look like you’ve had a professional cut.
Use Extra Mirrors
Here’s a simple trick: use a second mirror. One in front of you and one in your hand gives you a full view, especially for the back of your head. Most people skip this step, but it makes a big difference.
And don’t underestimate lighting. Natural daylight shows every detail, while dim light can hide mistakes. If you can, trim near a window. If not, use a bright bathroom light.
Step 4: Build a Routine
Trim on a Schedule
The secret to always looking sharp is consistency. If you like a short beard, you’ll probably need to trim it every two to three days. A longer beard might only need attention once a week. For haircuts, most guys find trimming every 7 to 10 days works best.
Keeping a routine means less work each time. Small, regular trims are easier and cleaner than fixing weeks of growth in one sitting.
Think About Hygiene
Here’s a pro tip: don’t use the same trimmer for everything. Have one for your beard and head, and a different one for other areas. It keeps things hygienic and prevents irritation.
Also, trim clean hair. Wash your beard and scalp before trimming. Freshly washed hair stands up better, cuts evenly, and won’t clog your trimmer as much.
How to Maintain Your Trimmer
Clean It After Every Use
Your trimmer deserves the same care you give your beard or hair. After every trim, clear out loose hair with the cleaning brush. If your guards are washable, rinse them under warm water and dry them completely before putting them away.
Moisture on the blades can lead to rust or dullness. Cleaning your trimmer for a minute keeps it sharp and ready to go for the next time. And, a clean tool is always more sanitary on the skin.
Oil the Blades Regularly
Many people will not even bother with this step but blade oiling is what makes the difference between a cheap feeling trimmer and a professional one. A little oil every two weeks is sufficient. Run the trimmer a few seconds to distribute it evenly on the blades.
The result? Blades that do not pull. It also increases the life span of your trimmer, thus you do not need to replace it as frequently. It is a small investment in performance and comfort.
Quick Tips to Keep in Mind
- Start longer if you’re unsure you can always go shorter.
- Trim against the grain for a cleaner finish.
- Use mirrors and good lighting to spot mistakes.
- Clean and oil your trimmer often.
- Stick to a schedule that matches your style.
Conclusion
It does not take long to learn how to use a trimmer properly, but it does take practice. When you get used to it, you’ll ask yourself why you did not start earlier. A bit of care and regularity will help you to maintain your beard and your haircut in a neat condition without going to the barber every week.
It is important to keep in mind that grooming is not only about appearance, but also about feeling good. A neat beard line or a new buzz cut can alter the way you carry yourself and what is the best part? With the proper attitude and a quality trimmer, you can do everything at home.